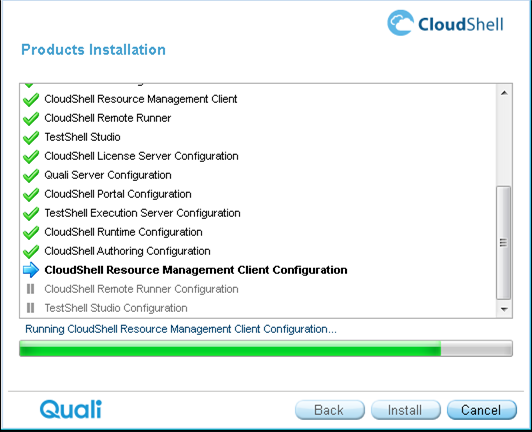
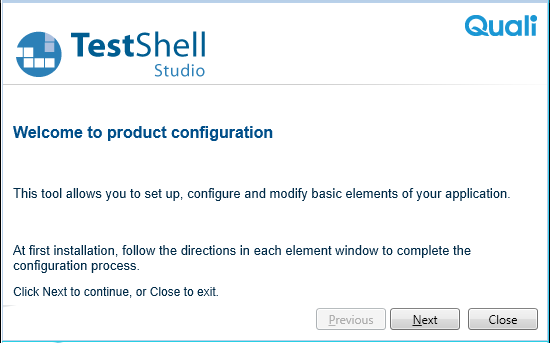
Install Products
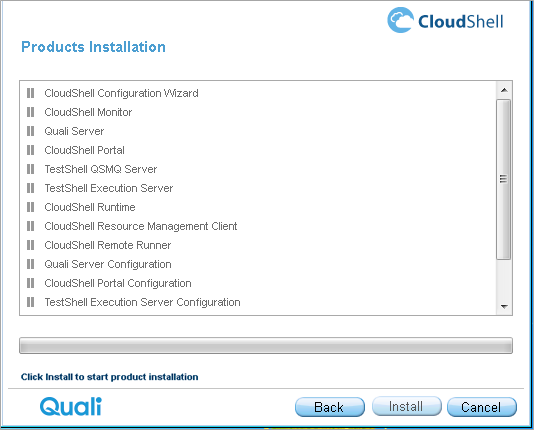
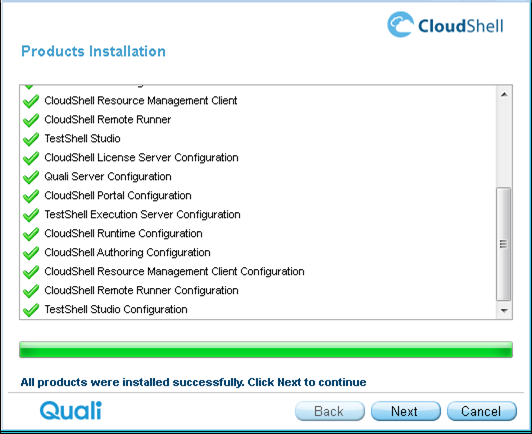
In the Products Installation window, click Install to start the CloudShell product installation. Some supporting applications may be included in the list of applications to be installed.
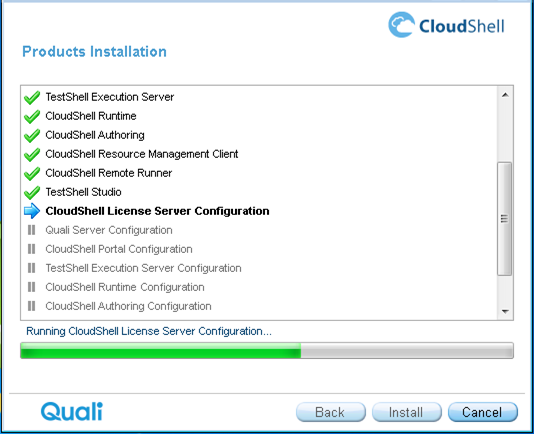
After completing the installation of the CloudShell License Server component, the installation wizard pauses.
A separate configuration window opens, relevant to the CloudShell License Server that has just been installed.
Complete the configuration steps and then continue with the installation wizard.
- Complete the configuration settings for each installed application to achieve a successful installation.
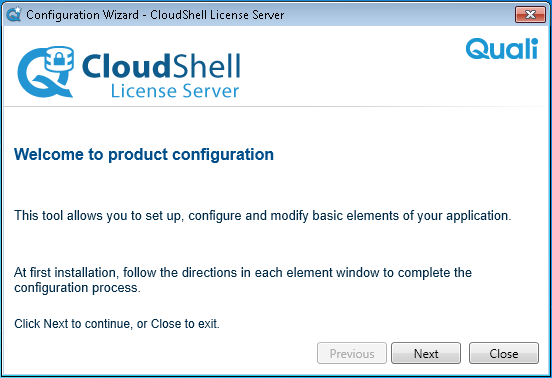
Complete each step of the CloudShell License Server Configuration Wizard. For more information about configuring CloudShell, see Configure CloudShell Products.
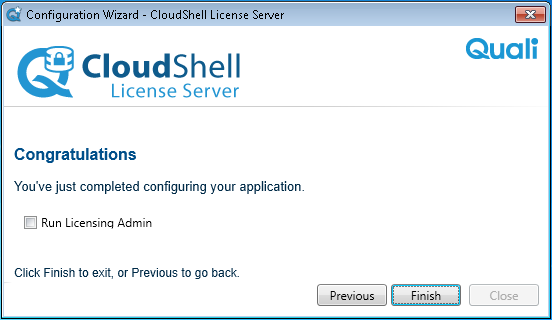
At the final step of the CloudShell License Server Configuration Wizard, click Finish.
The installation wizard continues with the installation procedure and installs the next component.
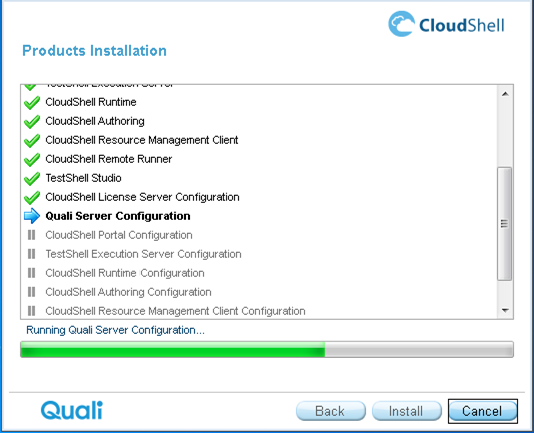
After completing the installation of the Quali Server component, the installation wizard pauses and the Quali Server Configuration Wizard opens.

Note: The Quali Server installation also installs the PyPi Server process, which manages Python dependencies for Python drivers and scripts in CloudShell. For additional information, see Configure PyPi Server in Offline Mode.
- Complete each step of the Quali Server Configuration Wizard.
At the final step of the Configuration Wizard, click Finish.
The installation wizard continues with the installation procedure and installs the next component.

After completing the installation of the CloudShell Portal component, the installation wizard pauses.
The CloudShell Portal Configuration Wizard opens.
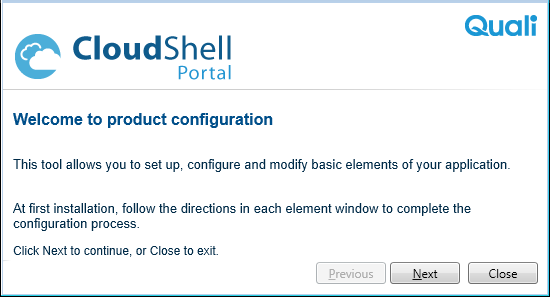
- Complete each step of the CloudShell Portal Configuration Wizard.
At the final step of the component Configuration Wizard, click Finish.
The installation wizard continues with the installation procedure and installs the next component.
Note: Before installing the Execution Server, make sure VCTools++ is installed for all users so that the Execution Server can use it to compile Python dependencies, when needed. Alternatively, uninstall VCTools++ to have CloudShell install it for you.
Note: When installing your execution server on a computer that is not a Windows Server machine, make sure to configure the machine's Power Options to prevent it from automatically going into sleep mode.
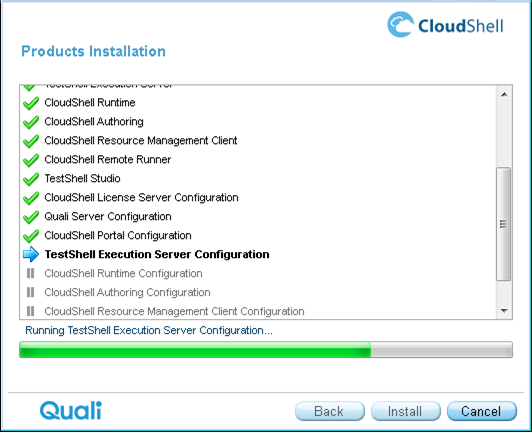
After completing the installation of the TestShell Execution Server component, the installation wizard pauses. The TestShell Execution Server Configuration Wizard opens.
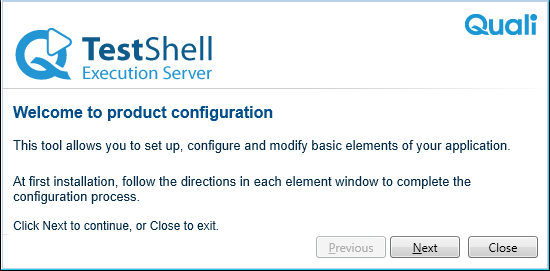
- Complete each step of the TestShell Execution Server Configuration Wizard.
At the final step of the component Configuration Wizard, click Finish.
The installation wizard continues with the installation procedure and installs the next component.
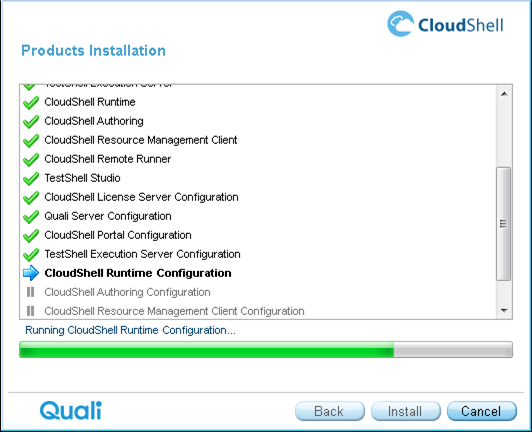
After completing the installation of the CloudShell Runtime component, the installation wizard pauses.
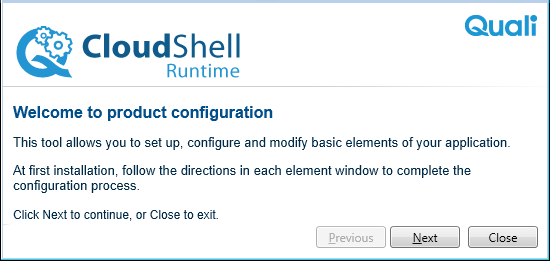
- Complete each step of the CloudShell Runtime Configuration Wizard.
At the final step of the component Configuration Wizard, click Finish.
The installation wizard continues with the installation procedure and installs the next component.
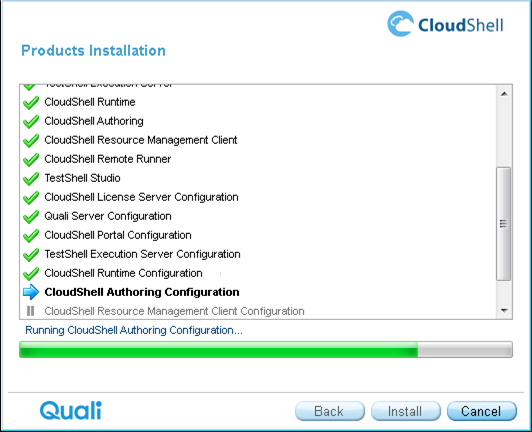
After completing the installation of the CloudShell Authoring component, the installation wizard pauses. The CloudShell Authoring Configuration Wizard opens.
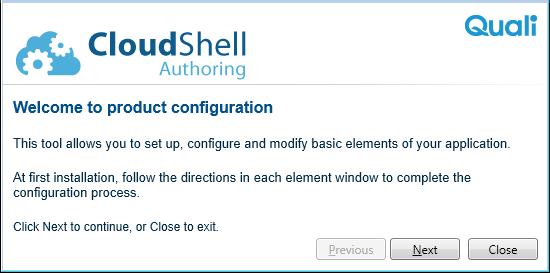
- Complete each step of the CloudShell Authoring Configuration Wizard.
At the final step of the component Configuration Wizard, click Finish.
The installation wizard continues with the installation procedure and installs the next component.
After completing the installation of the CloudShell Resource Management Client component, the installation wizard pauses.
The CloudShell Resource Management Client Configuration Wizard opens.
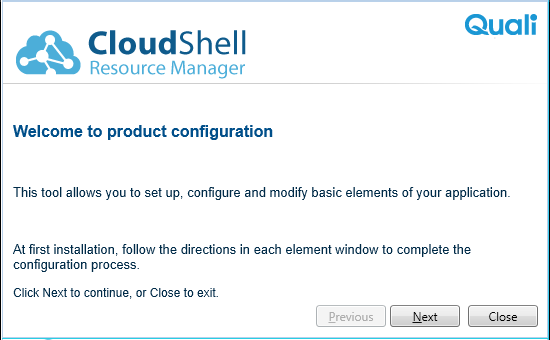
- Complete each step of the CloudShell Resource Management Client Configuration Wizard.
At the final step of the component Configuration Wizard, click Finish.
The installation wizard continues with the installation procedure and installs the next component.
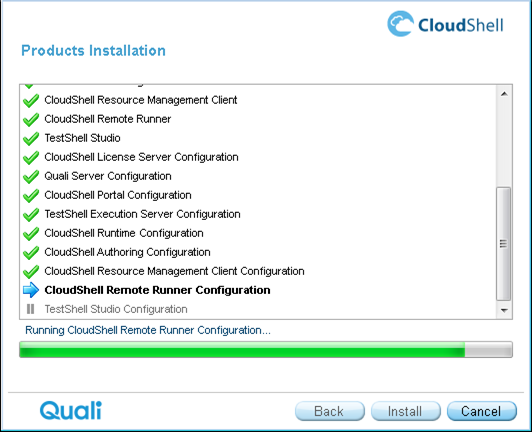
After completing the installation of the CloudShell Remote Runner component, the installation wizard pauses. The CloudShell Remote Runner Configuration Wizard opens.
- Complete each step of the CloudShell Remote Runner Configuration Wizard.
At the final step of the component Configuration Wizard, click Finish.
The installation wizard continues with the installation procedure and installs the next component.
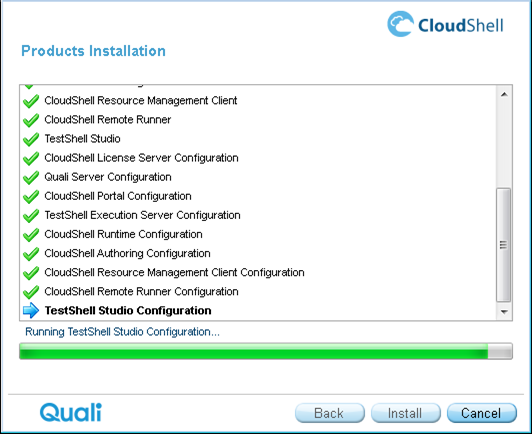
After completing the installation of the TestShell Studio component, the installation wizard pauses.
The TestShell Studio Configuration Wizard opens.
- Complete each step of the TestShell Studio Configuration Wizard.
At the final step of the component Configuration Wizard, click Finish.
The installation wizard continues with the installation procedure and installs the next component.
Click Next to complete the installation procedure.
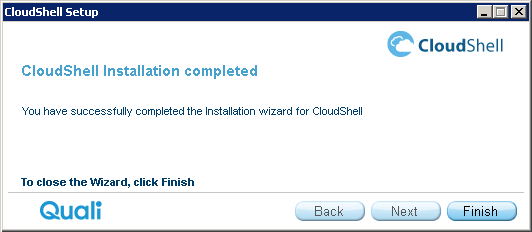
Click Finish.
You can run the CloudShell Configuration Wizard for any installed CloudShell application, as required.
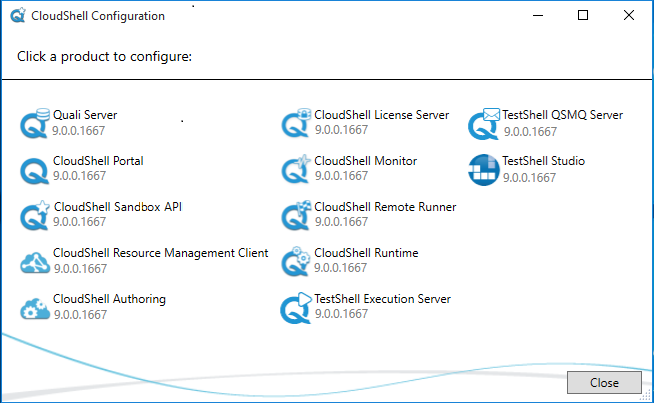
For more information about the CloudShell Configuration Wizard procedure, see Configure CloudShell Products.
Proceed to Import User Definitions from an Active Directory (Optional) .